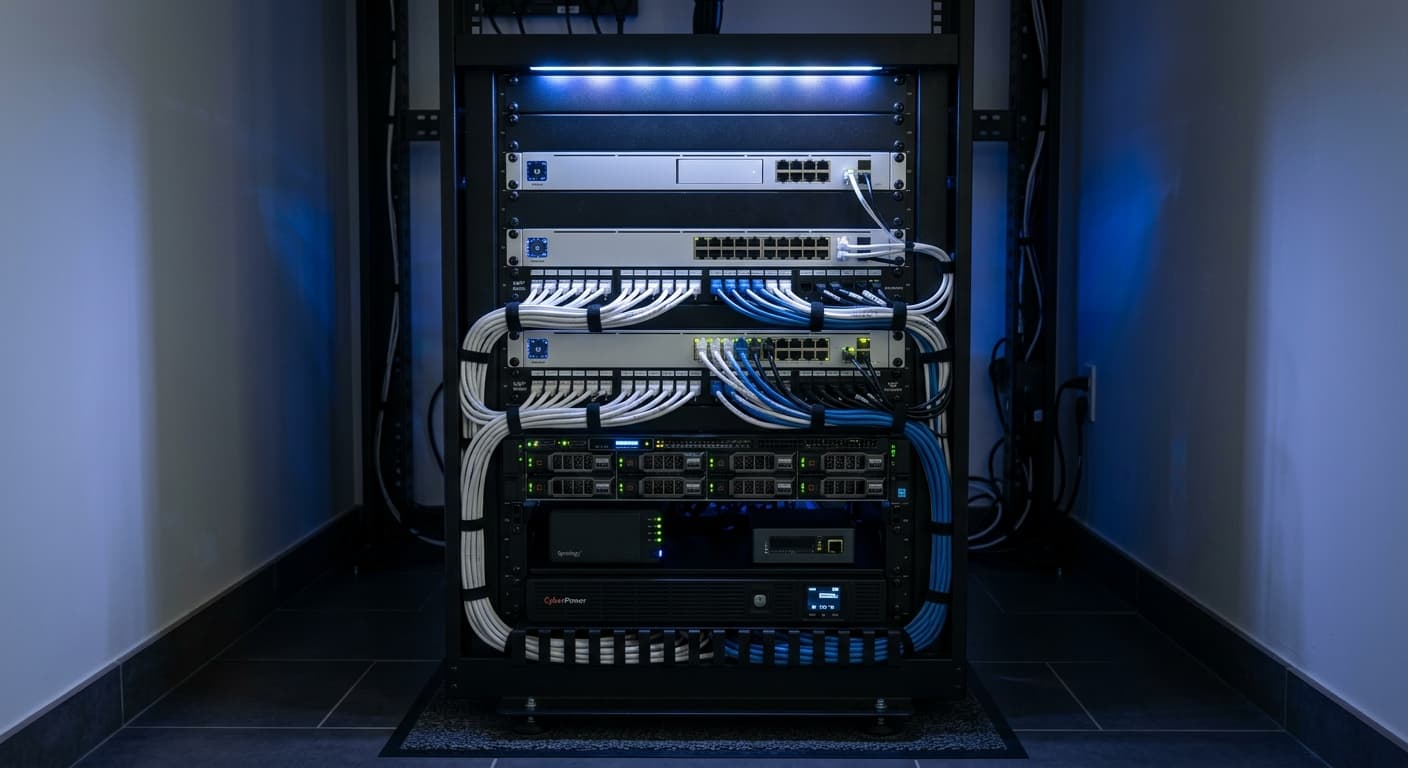
Homelab Networking: Planning Your Subnets and VLANs
Learn how to design a secure, organised homelab network with proper VLAN segmentation and IP address planning.
Homelab Networking: Planning Your Subnets and VLANs
Network design is the foundation of a serious homelab. Get it right, and you'll have a secure, scalable platform for years. Get it wrong, and you'll spend months untangling spaghetti.
This guide covers the essentials: planning subnets, implementing VLANs, and organising your homelab network like a pro.
Why Bother with VLANs?
Virtual LANs (VLANs) let you segment network traffic logically, even when devices share the same physical switches. Benefits include:
- Security: IoT devices can't talk to your servers directly
- Organisation: Services are grouped by function, not physical location
- Performance: Broadcast traffic is contained within segments
- Flexibility: Move devices between segments without rewiring
Rule of thumb: If you wouldn't trust a device on your main network, give it its own VLAN.
Planning Your IP Address Space
Choose Your Subnet
Most homelabs use private IPv4 ranges from RFC 1918:
10.0.0.0/8— Largest, most flexible (16 million addresses)172.16.0.0/12— Medium size (1 million addresses)192.168.0.0/16— Common, but often conflicts with consumer gear
Recommendation: Use 10.x.x.x for your homelab. It's less likely to conflict with VPNs or guest networks.
Subnet Sizing
For most homelabs, /24 subnets (254 usable addresses) are perfect:
10.0.10.0/24— Management network10.0.20.0/24— Servers and VMs10.0.30.0/24— IoT devices10.0.40.0/24— Guest WiFi10.0.50.0/24— Trusted workstations
If you need more room, use /23 (510 addresses) or /22 (1022 addresses).
IP Address Allocation
Within each subnet, establish a convention:
.1— Gateway/firewall.2–.9— Infrastructure (DNS, DHCP, monitoring).10–.99— Servers (static IPs).100–.199— DHCP pool for dynamic devices.200–.254— Reserved for future use
Example for 10.0.20.0/24 (Servers):
| IP | Hostname | Purpose | |----|----------|---------| | 10.0.20.1 | pfsense.errorlab.uk | Gateway | | 10.0.20.2 | adguard.errorlab.uk | DNS server | | 10.0.20.3 | proxmox.errorlab.uk | Hypervisor | | 10.0.20.10 | truenas.errorlab.uk | Storage | | 10.0.20.20 | nas.errorlab.uk | File server |
VLAN Design Principles
The 1:1 Rule
Each VLAN should map to exactly one subnet:
- VLAN 10 →
10.0.10.0/24 - VLAN 20 →
10.0.20.0/24 - VLAN 30 →
10.0.30.0/24
This makes routing and firewall rules straightforward.
VLAN ID Conventions
Many homelabbers use the third octet as the VLAN ID:
- VLAN 10 →
10.0.10.0/24 - VLAN 20 →
10.0.20.0/24
This makes it obvious which subnet belongs to which VLAN.
Common VLAN Assignments
Here's a practical starting point:
| VLAN ID | Name | Subnet | Purpose | |---------|------|--------|---------| | 10 | MGMT | 10.0.10.0/24 | Network infrastructure (switches, APs, firewall) | | 20 | SERVERS | 10.0.20.0/24 | Proxmox, TrueNAS, application servers | | 30 | IOT | 10.0.30.0/24 | Smart home devices, cameras, smart TVs | | 40 | GUEST | 10.0.40.0/24 | Visitor WiFi (internet only) | | 50 | WORKSTATIONS | 10.0.50.0/24 | Trusted PCs and laptops | | 60 | DMZ | 10.0.60.0/24 | Public-facing services (optional) |
Inter-VLAN Routing
Devices in different VLANs can't communicate by default. To allow traffic between segments, you need inter-VLAN routing.
Option 1: Layer 3 Switch
Managed switches with L3 capabilities (e.g., Ubiquiti UniFi, Cisco Meraki, MikroTik) can route between VLANs at wire speed.
Pros: Fast, simple configuration Cons: Less granular firewall control
Option 2: Router-on-a-Stick
A router (or firewall like pfSense/OPNsense) handles routing between VLANs:
- Configure VLAN interfaces on the router
- Connect router to a trunk port on your switch
- Set up firewall rules to control traffic flow
Pros: Full firewall control, centralised policy Cons: Can become a bottleneck on busy networks
Option 3: Proxmox as Router
Proxmox can route between VLANs using Linux bridges or OVS:
# Example: Create VLAN interfaces in /etc/network/interfaces
auto vmbr0.10
iface vmbr0.10 inet static
    address 10.0.10.1/24
    vlan-raw-device vmbr0

auto vmbr0.20
iface vmbr0.20 inet static
    address 10.0.20.1/24
    vlan-raw-device vmbr0
Enable IP forwarding:
echo "net.ipv4.ip_forward=1" >> /etc/sysctl.conf
sysctl -p
Firewall Rules: The Security Layer
Routing alone isn't enough. You need firewall rules to control what traffic is allowed between VLANs.
Default-Deny Policy
Start with everything blocked, then allow only what's needed:
- Block IoT → Servers: IoT devices should never initiate connections to your servers
- Allow Servers → IoT: Servers may need to poll IoT devices (e.g., Home Assistant)
- Block Guest → Everything: Guest network gets internet only
- Allow Workstations → Servers: Trusted devices can access services
- Allow All → Internet: Unless you're implementing content filtering
Example pfSense Rules
For the IoT VLAN (VLAN 30):
| Rule | Action | Source | Destination | Description | |------|--------|--------|-------------|-------------| | 1 | Pass | IoT net | DNS server | Allow DNS queries | | 2 | Pass | IoT net | Internet | Allow outbound internet | | 3 | Block | IoT net | Server VLAN | Block access to servers | | 4 | Block | IoT net | Management VLAN | Block infrastructure access |
Practical Implementation
Step 1: Document Your Plan
Before touching hardware, write down:
- VLAN IDs and names
- Subnet assignments
- IP allocation scheme
- Firewall rules (what should be allowed/blocked)
Step 2: Configure Your Switch
For a managed switch (example: UniFi):
- Create VLANs in the controller
- Assign VLAN profiles to ports
- Configure trunk ports (for router/AP connections)
- Set up WiFi SSIDs with VLAN tags
Step 3: Set Up the Router
On pfSense/OPNsense:
- Add VLAN interfaces (Interfaces → Assignments → VLANs)
- Create interface for each VLAN
- Configure IP addresses (gateway for each subnet)
- Set up DHCP servers per VLAN
- Define firewall rules
Step 4: Test Connectivity
Verify each VLAN:
# From a workstation in VLAN 50:
ping 10.0.20.1    # Should reach server VLAN gateway
ping 10.0.30.50   # Should NOT reach IoT device (if blocked)
ping 8.8.8.8      # Should reach internet
Common Mistakes to Avoid
1. Using VLAN 1
VLAN 1 is the default on most switches. Don't use it for anything important—it's often untagged and can leak traffic.
Fix: Start your VLANs at 10 or higher.
2. Forgetting the Native VLAN
Trunk ports have a "native VLAN" for untagged traffic. If mismatched between devices, you'll get weird connectivity issues.
Fix: Set native VLAN to an unused ID (e.g., 999) on all trunk ports.
3. No Documentation
Six months from now, you won't remember why VLAN 42 exists.
Fix: Keep a network diagram and IP allocation spreadsheet. Update it when you make changes.
4. Over-Segmenting Early
Don't create 20 VLANs on day one. Start with 3–5 essential segments and expand as needed.
Fix: Begin with Management, Servers, IoT, and Guest. Add more when you have a specific need.
Tools and Resources
- Network Diagram: draw.io or Excalidraw for visual documentation
- IPAM: NetBox or phpIPAM for IP address management
- Scanning:
nmapto discover what's on each subnet - Monitoring: Uptime Kuma or LibreNMS to track network health
Next Steps
Once your VLANs are running:
- Set up monitoring: Alert when devices jump between VLANs
- Implement NAC: 802.1X for device authentication (advanced)
- Add QoS: Prioritise voice/video traffic
- Document everything: Future-you will be grateful
Proper network design takes effort upfront but pays dividends in security and maintainability. Start simple, document thoroughly, and expand as your homelab grows.
Was this article helpful?